Create JIRA -> Salesforce integration in minutes!
With our latest release of REST Integrations & Automations, it is super simple to create any OAuth integration without needing to code!
In this tutorial, I will describe how to do it with salesforce and some of the use cases that we see are common.
So we want to achieve this:
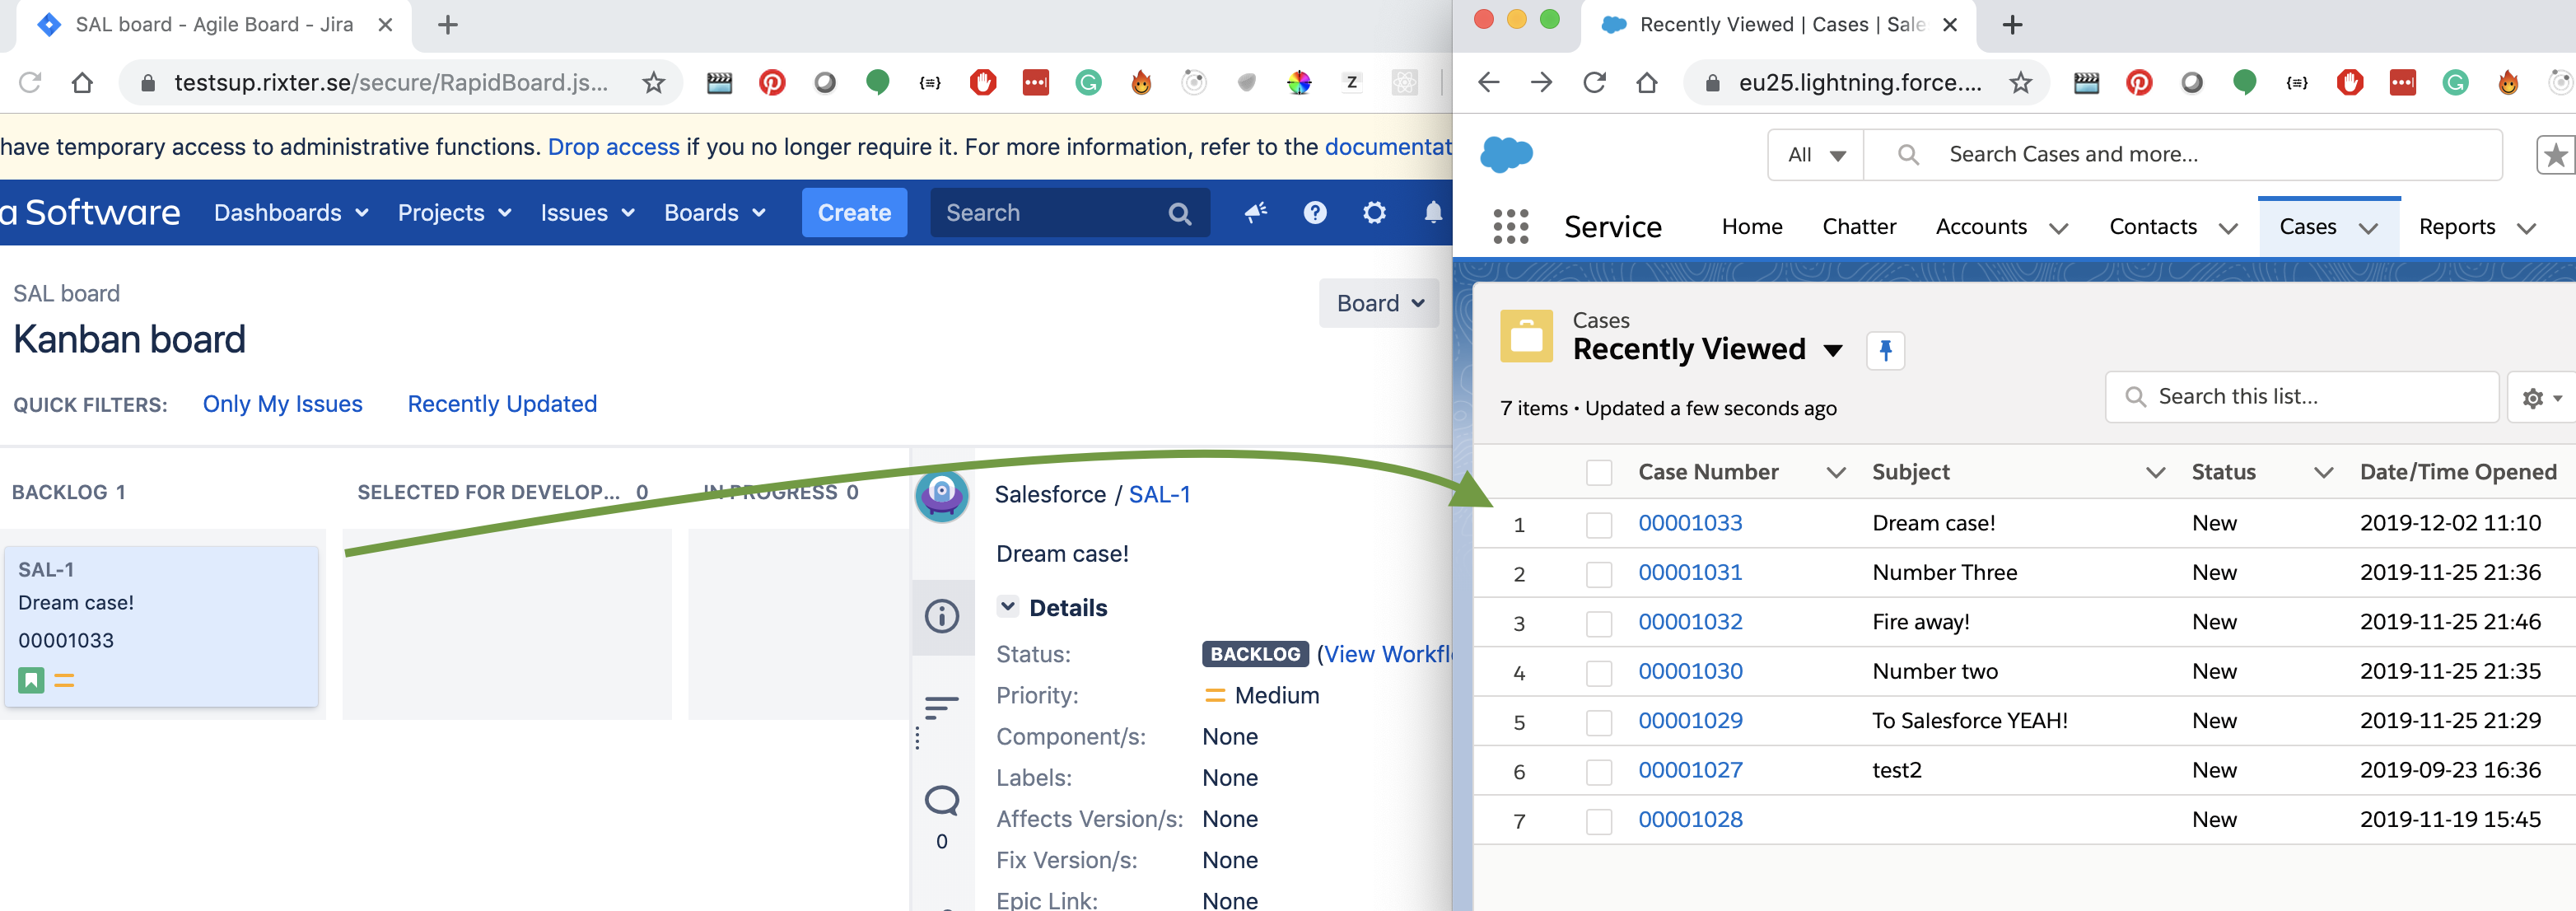
When an issue is created it sends that to Salesforce and updates the issue with the case number and status.
Secondly, we want to fetch the status of the case to find out if there has been any update.
This can also be done on a periodic schedule by using the cron expression. (not covered in this article)
So were do we start?...
The first thing that needs to be done is to create what Salesforce calls a Connected app.
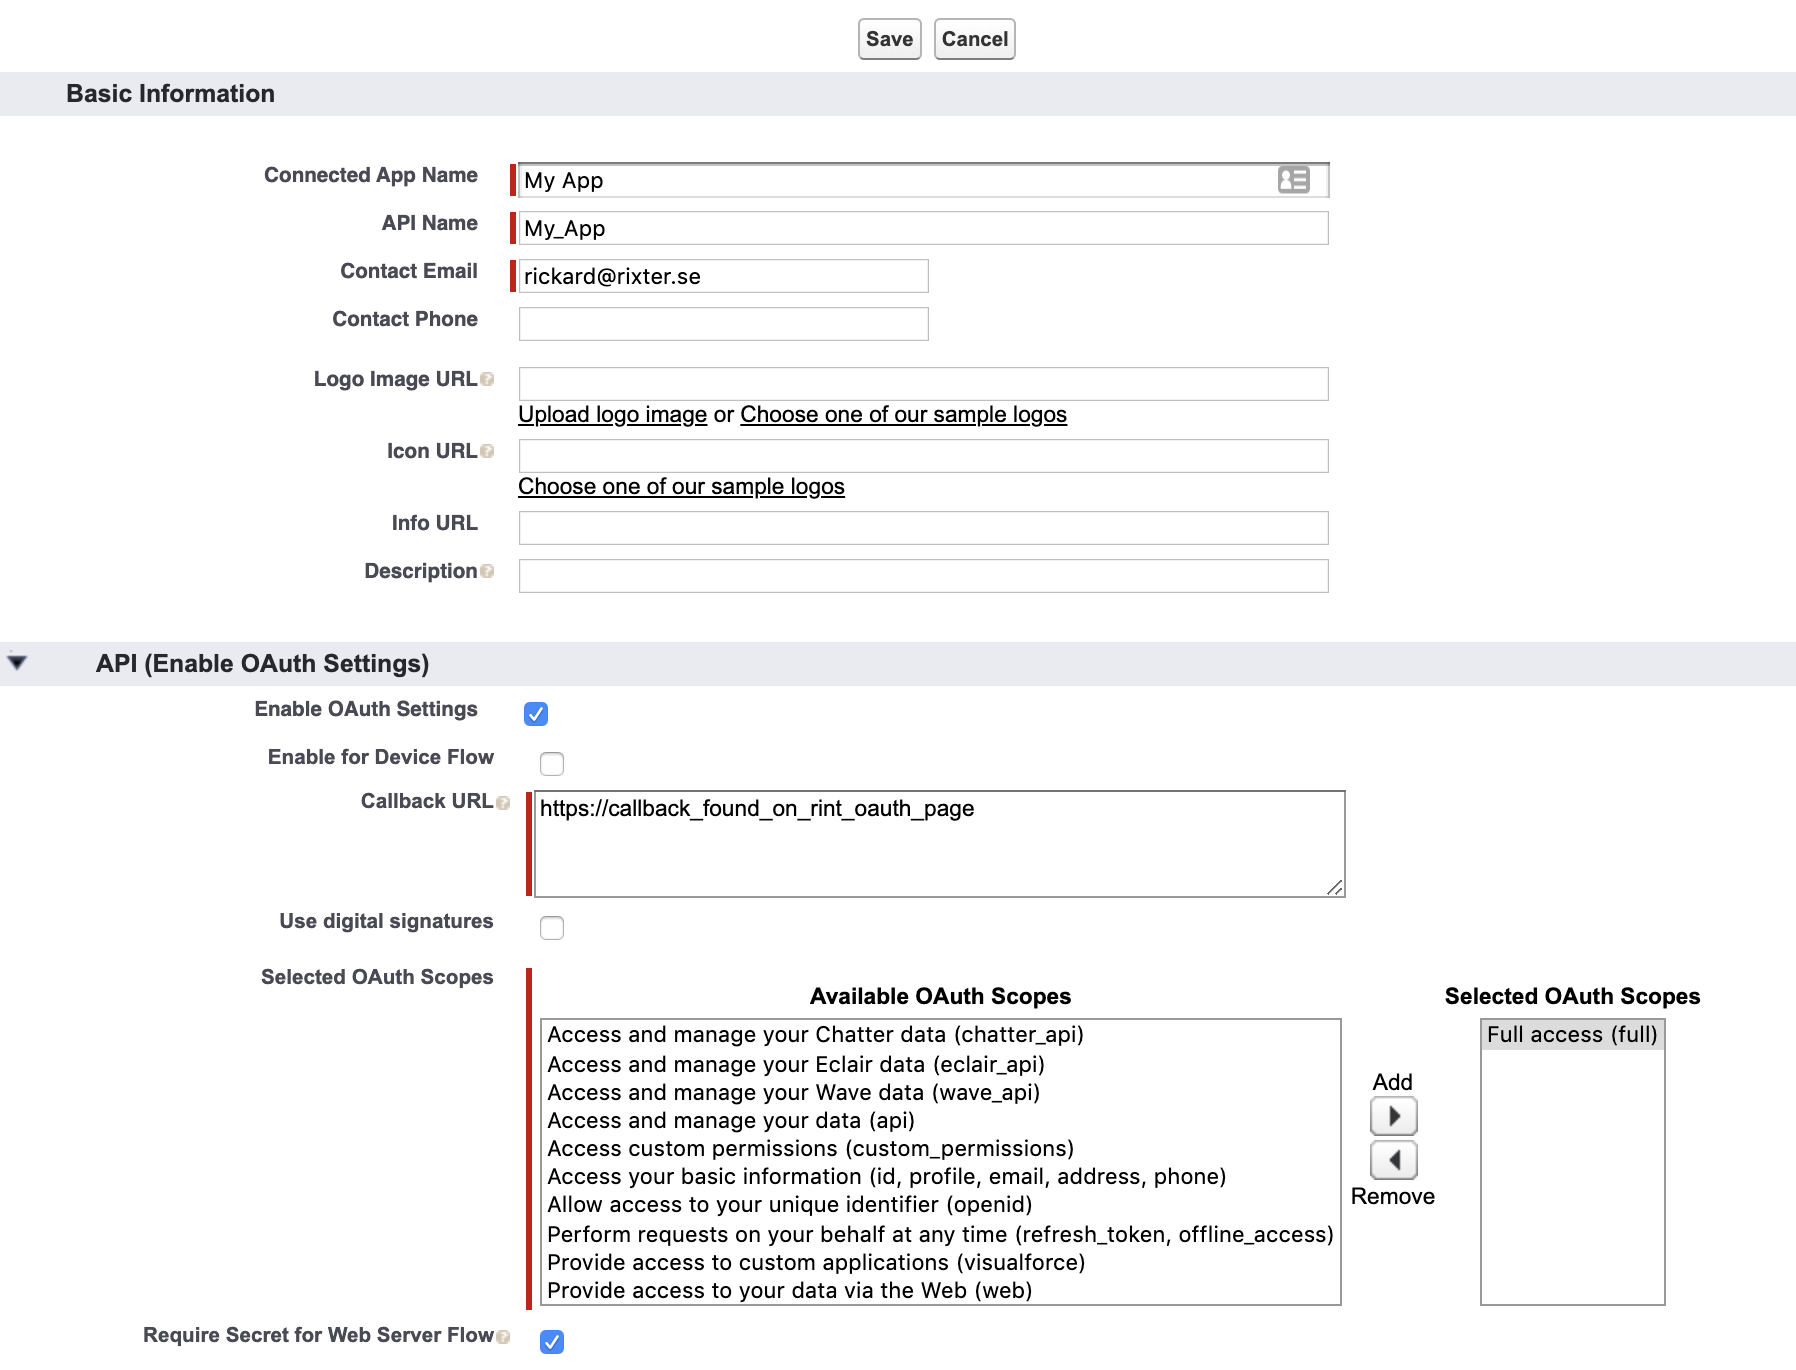
The important thing here is to select the right scope and to add the callback URL. This is always found on the OAuth authentication page in RINT.
Once this is done the next step is to set up the authentication in RINT.
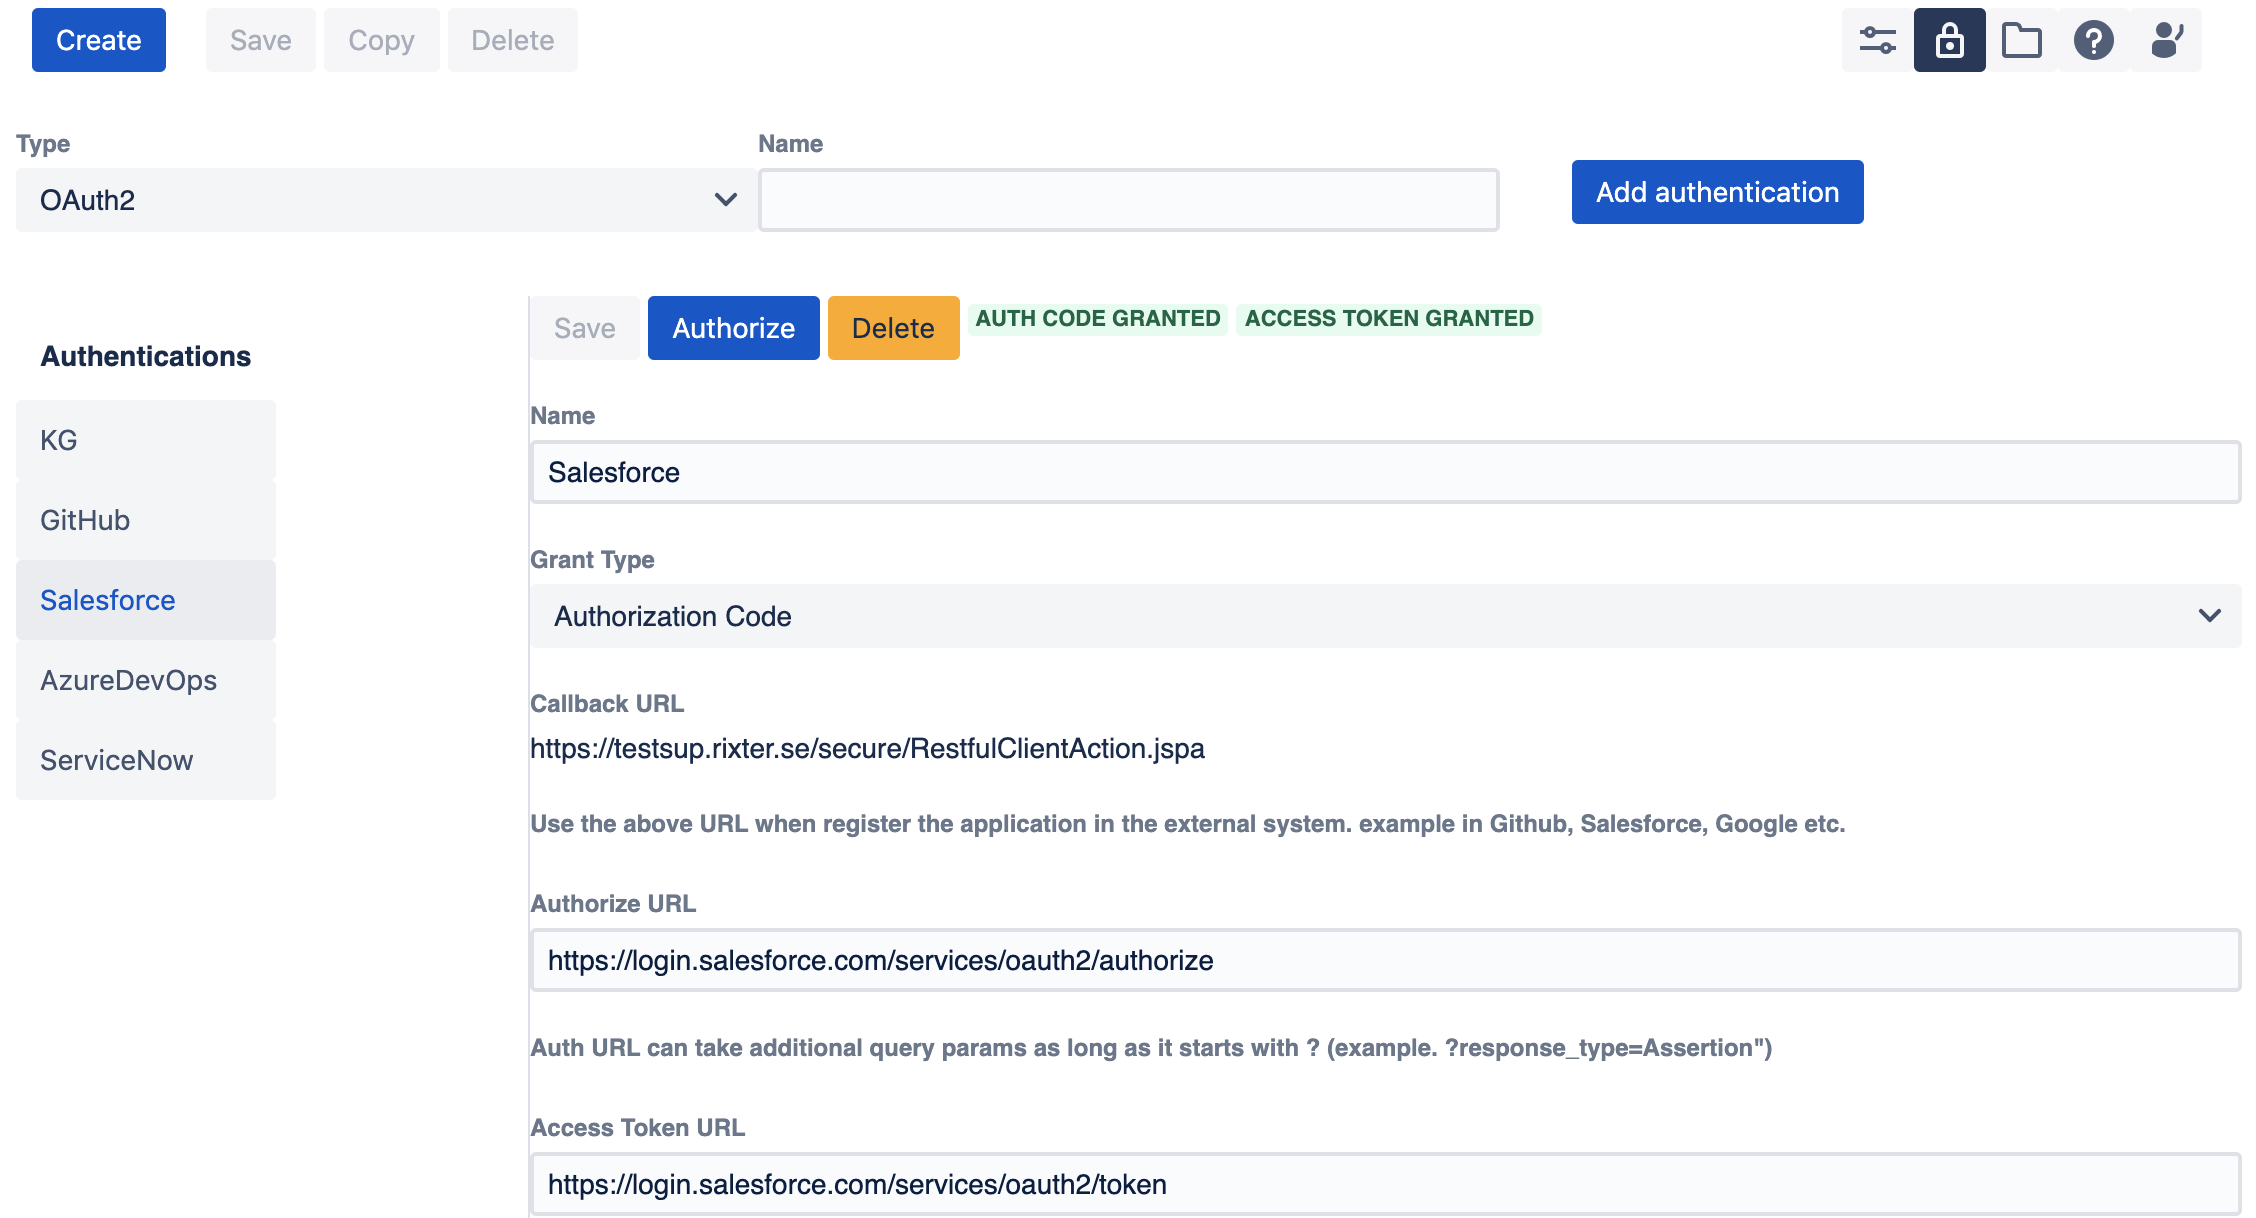
In RINT we select the Authentication menu (lock icon) and enter the details that out Salesforce connected app returned.
Note that state shall be check but leave the scope blank.
Once all the data is filled in click Authenticate and login to Salesforce. You will notice the two labels "Auth Code Granted" and "Access Token Granted" when all went good.
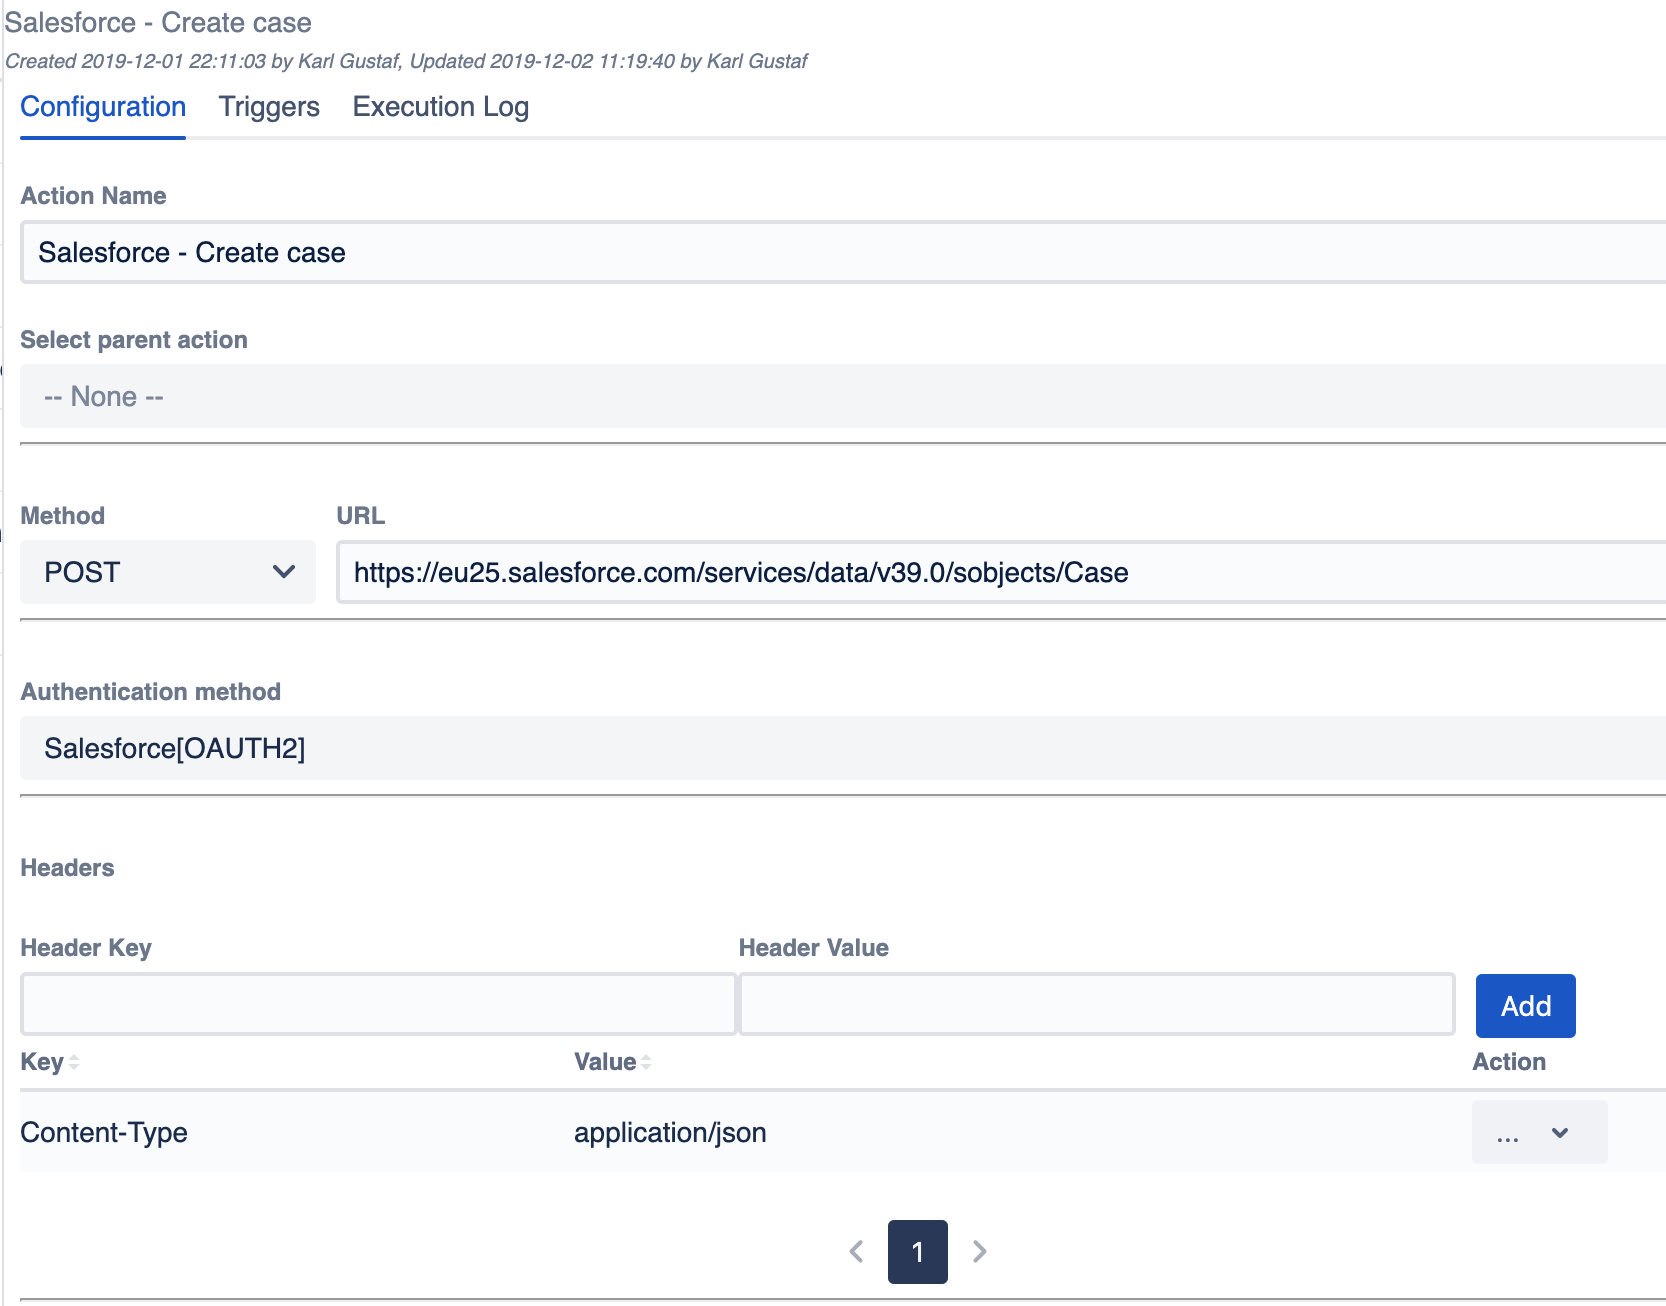
So now down to the actual REST call to do something in Salesforce based on JIRA data
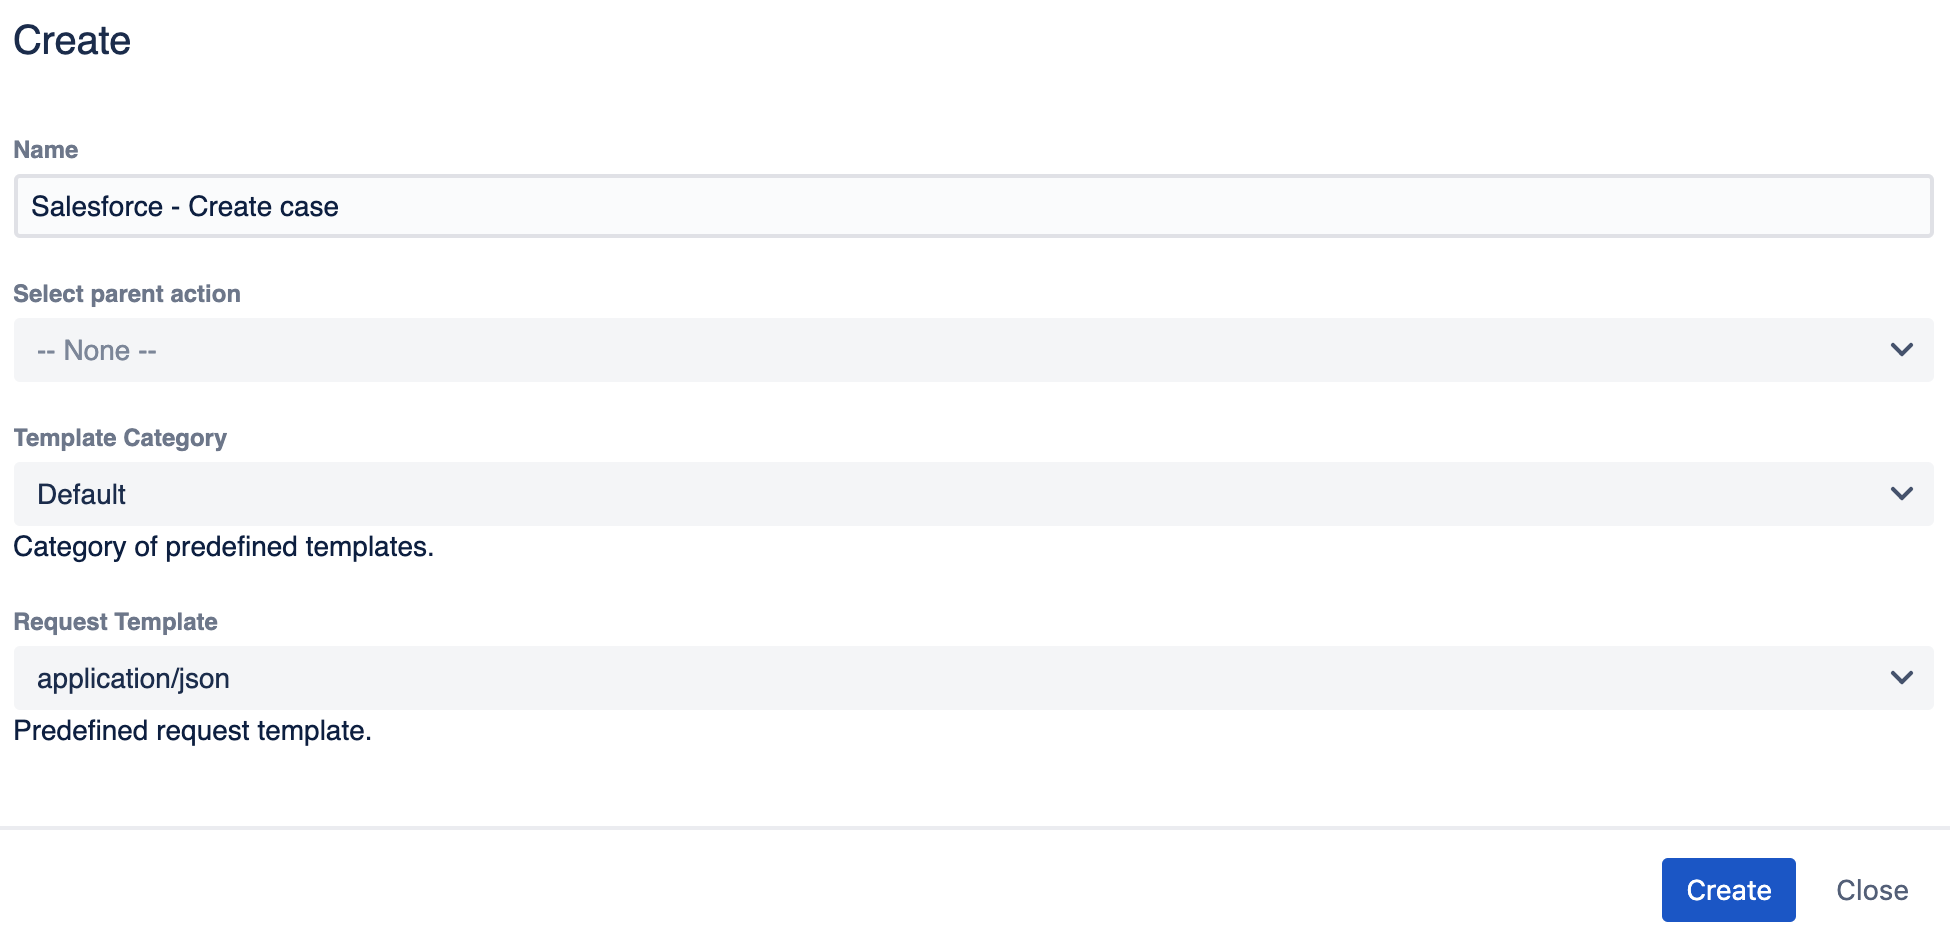
Simply click Create and fill in a name and select the application / json as template to get the headers for free.
The request details can now be filled in, such as the method and url. Note for salesforce use the "instance.salesforce.com/...." as url and not the force.com.
Now to where the actual JIRA data comes from
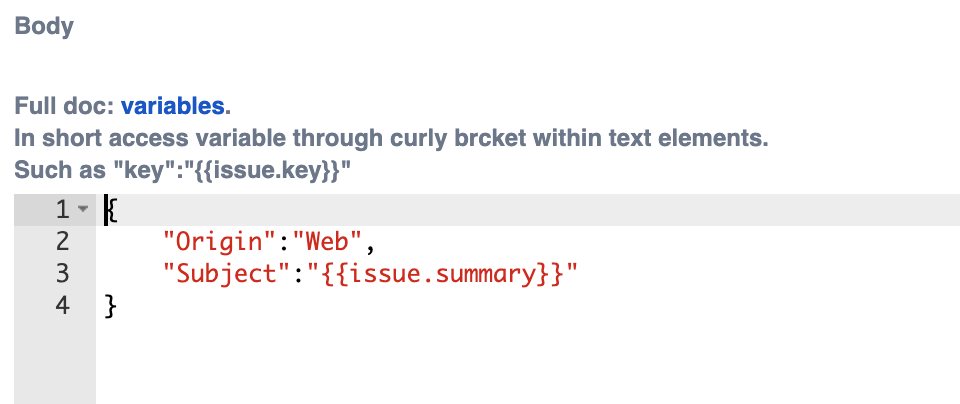
The body part of the form describes what data to send, RINT can send the issue data by simply using curly brackets and dot notation.
{{issue.summary}}
{{issue.reporter.username}}
{{issue.customfield_12456}}
Trigger Time!
Once the data for the REST call is setup the only thing left is to add a Trigger to decide when to send the call.
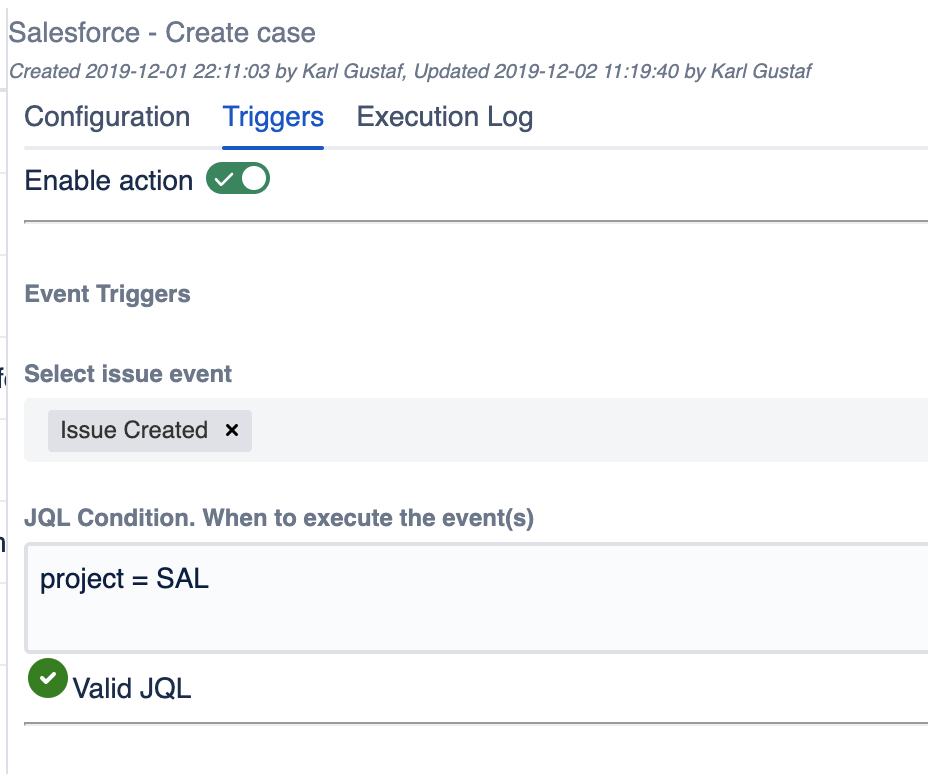
We will use Issue Created with the condition limited to our SAL project.
This now means that the REST call to salesforce using the authentication that we setup will be triggered every time there is a new issue in our SAL project!
Yeah! but wait... how does it know to update the issue with the Case ID?
Now the chained actions come into play.
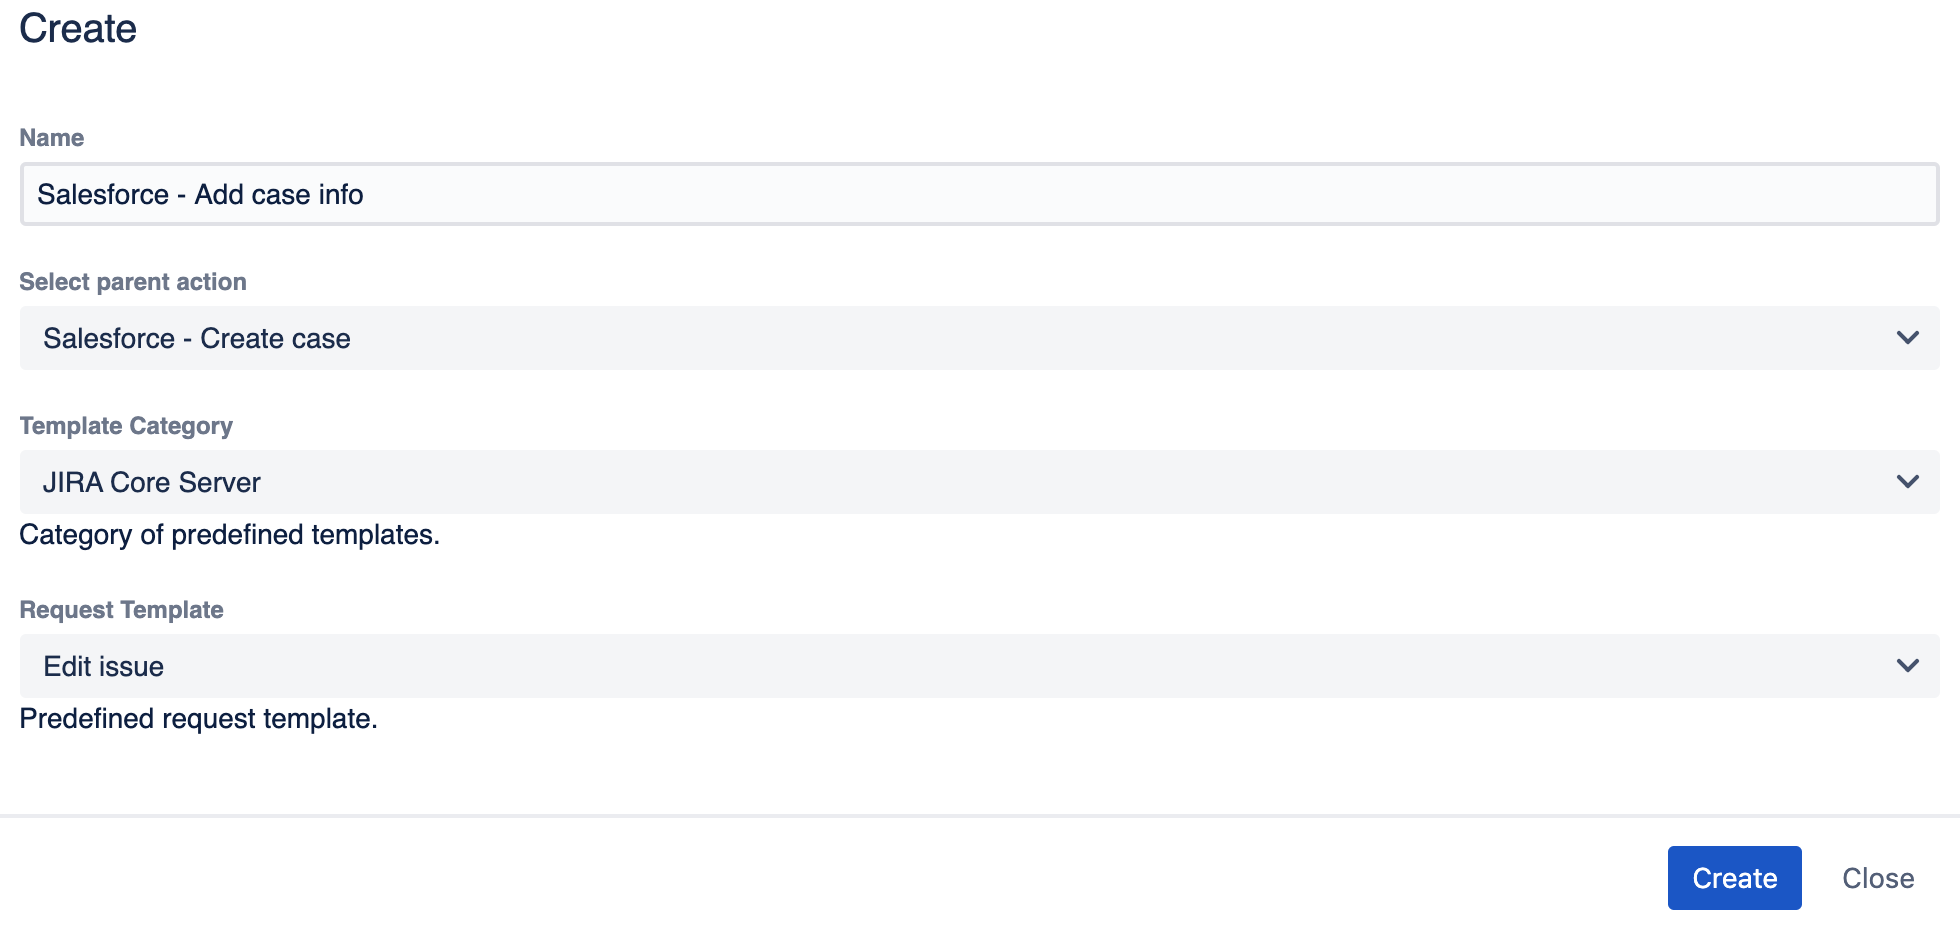
We will create a new action again this time we will use the "Select parent action" field to specify our previously created "Salesforce - Add case info"
Further on we can take some help by selecting the "JIRA Core Server" category and the "Edit Issue" template to speed things up.

What did we get now?
First, we can see that the tree now has a parent → Child for the salesforce part. Secondly, we can see that it created a new REST request to our JIRA server.
By selecting "Auto-generate 1st level as variables from parent response" we will automatically on this REST call get the response from the create case call as variables.
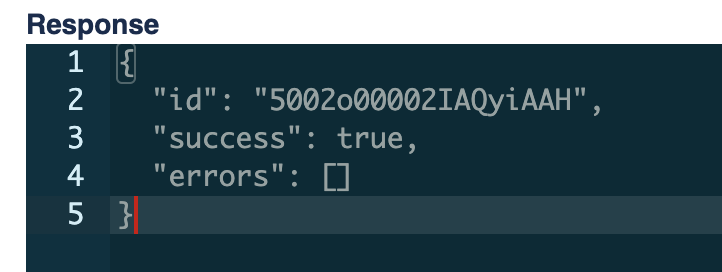
The response can be viewed by clicking on the Execution log on the "Salesforce - Add case info" action
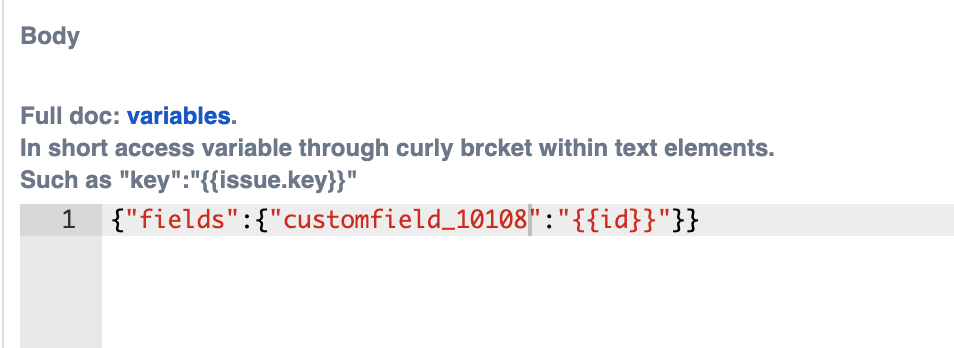
So let's use what we know from the response to send that to the edit issue REST call.
As noted the {{id}} will automatically be replaced by the response from the parent once the chain is executed.